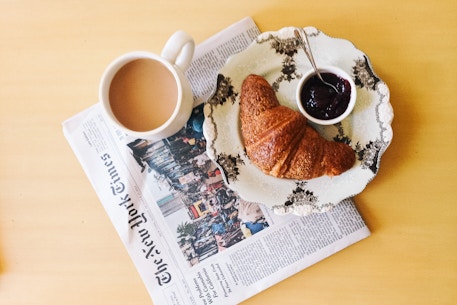
Day 11: Recipe-Testing 101
At this point in my culinary career, I've done a lot of recipe-testing. Which is kind of hilarious because a) I actually hate cooking with recipes and b) I'm not the most precise person by nature. When it comes to cooking, I'm more artist than scientist. And yet I've tested recipes for multiple cookbooks, as well as magazines like Martha Stewart Everyday Food, Real Simple, Food & Wine, Bon Appetit, and Gourmet Live. The chance to work with these magazines has been amazing. (Talk about great preparation to one day write my own cookbook!) Each publication has their own slightly different recipe-testing method, but at the end of the day, precision, accuracy, and thorough-ness (is that a word?) are the name of the game.
I've gotten a bunch of questions about recipe-testing, so I figured I'd take this opportunity to give you all the inside scoop! And of course, if you have any questions that aren't answered in the post, ask away in the comments section, and I'll address them in my Recipe-Testing 102 post.

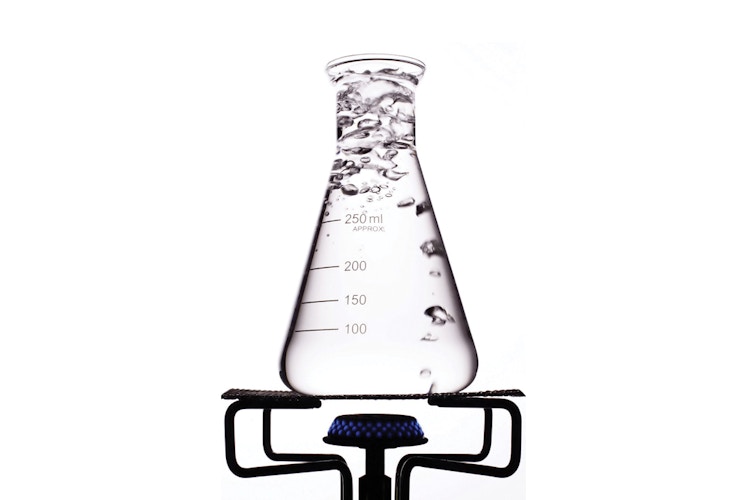
So what exactly IS recipe-testing? Does it involve lab coats and protective eye-wear? Beakers and test tubes? And why is it so important? Recipe-testing is essentially testing a recipe to see if it works. The recipe is prepared in a controlled environment (food magazines all have their own test kitchens), taking very precise measurements, timing everything exactly, and taking detailed notes throughout the process. Lab coats and glasses aren't required ;), but chef coats are often worn, again depending on the magazine.
For cookbooks, each author is responsible for testing all of his or her recipes, but – because each recipe should technically be tested at least 3 times – they often seek help from friends and family, or else hire a professional recipe-tester. Recipe-testing takes a lot of time (not to mention grocery expense), but it's vital to the success of a cookbook. How many times have you made a recipe from a cookbook and it totally flops?! Chances are you just thought you did something wrong. But don't beat yourself up: it's probably not your fault! These days, many recipes in cookbooks aren't accurately tested (or might only have been tested once, instead of 3 or 4 times). For The Yellow Table Cookbook, I'm planning to test each recipe a minimum of 3 times, and I am definitely seeking recipe-testers (so let me know if you're interested!).

So what's the process like for testing a recipe? Walk me through it - start to finish.
1) I type out the recipe based on a concept I've developed in the kitchen (or dreamed up in my head!). I usually have some cooking notes scribbled down and I add those in.
2) I print out the recipe and read over it thorougly, thinking through each step of the recipe. (Is it clear? Does it make sense? Are there any steps or ingredients missing?) When I studied under Anne Willan at La Varenne, she drilled into us that you must read through a recipe 3 times before you begin testing. It's a good rule of thumb, because otherwise you might get into the cooking process and realize you are missing an ingredient, or forgot to preheat the oven, or chill something in advance.
3) I gather all of my ingredients. You know those little bowls you see on cooking shows, where all of the ingredients are perfectly measured and chopped? Get a set of those bowls if you plan on doing any recipe-testing. It's SUPER important to stay organized, so you can accurately measure each step of the process.

4) I measure out each ingredient exactly (chopping, measuring - whatever is needed) and place them in the little bowls. I like to get a teaspoon/cup measurement, as well as a weight measurement (in ounces) for everything.
5) I gather all of the cooking tools I'm going to need: pots, pans, bowls, utensils. Also: make sure you have a good timer and a digital scale (see step 4!). I like to keep track of weights for items like "1 medium onion" - just so you can go back and realize how much onion actually went into each version of the test.
6) I start cooking. While recipe-testing, it's important not to let your mind wander (which is hard for me!! I usually love to daydream when I cook), as it's important to keep track of everything happening. If the recipe says, "Saute the onion over medium-high heat for 3-5 minutes, or until soft and translucent," you want to start the timer the second the onions hit the pan. Do the onions turn soft and translucent at 4 minutes - or not until 8 minutes? Often the times in a first draft recipe are way off, so it's important to note those things.
7) I write down all observations from the cooking process. How did the end result turn out? Were some of the instructions unclear? Are there descriptor words I could add in to make it more easy to follow (like "saute until golden brown" or "bake until the top springs back gently when touched, and a toothpick comes out clean.") And what about the flavor? Would some extra cumin help? Maybe some fresh thyme? Additional lemon?

8) After jotting down my notes onto the recipe, I go back to my Word document and type in my notes from Test 1 and add them to the recipe for a Round 2 Test.
9) After a long day of testing - if I'm not careful, my tiny kitchen can easily look like this! So I do a ton of dishes, and get the place ready for another day of testing...

How can I become a Yellow Table recipe-tester?
In the coming weeks, I'm putting together sample menus (5 recipes each) for people to test, and then afterwards, to throw a dinner party, or brunch, for friends serving the dishes you've prepared. I've already got volunteers across the U.S. (and even in other countries around the world!), and I'm planning to feature these Yellow Table gatherings on the blog in the coming months! For now, drop me a line at [email protected] so I can add your name to the list. All recipe-testers will (obviously) receive a free copy of the book. Thanks for your willingness to help me make this project a success!
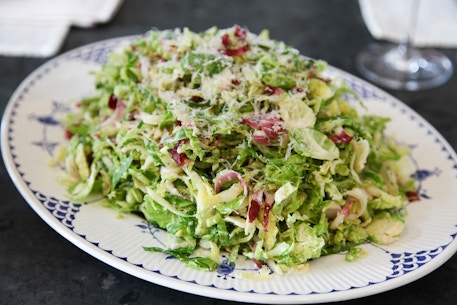
See you tomorrow: I'm sharing a recipe for my favorite, healthy Brussels sprouts salad...
Opener photo by Etienne du Preez.